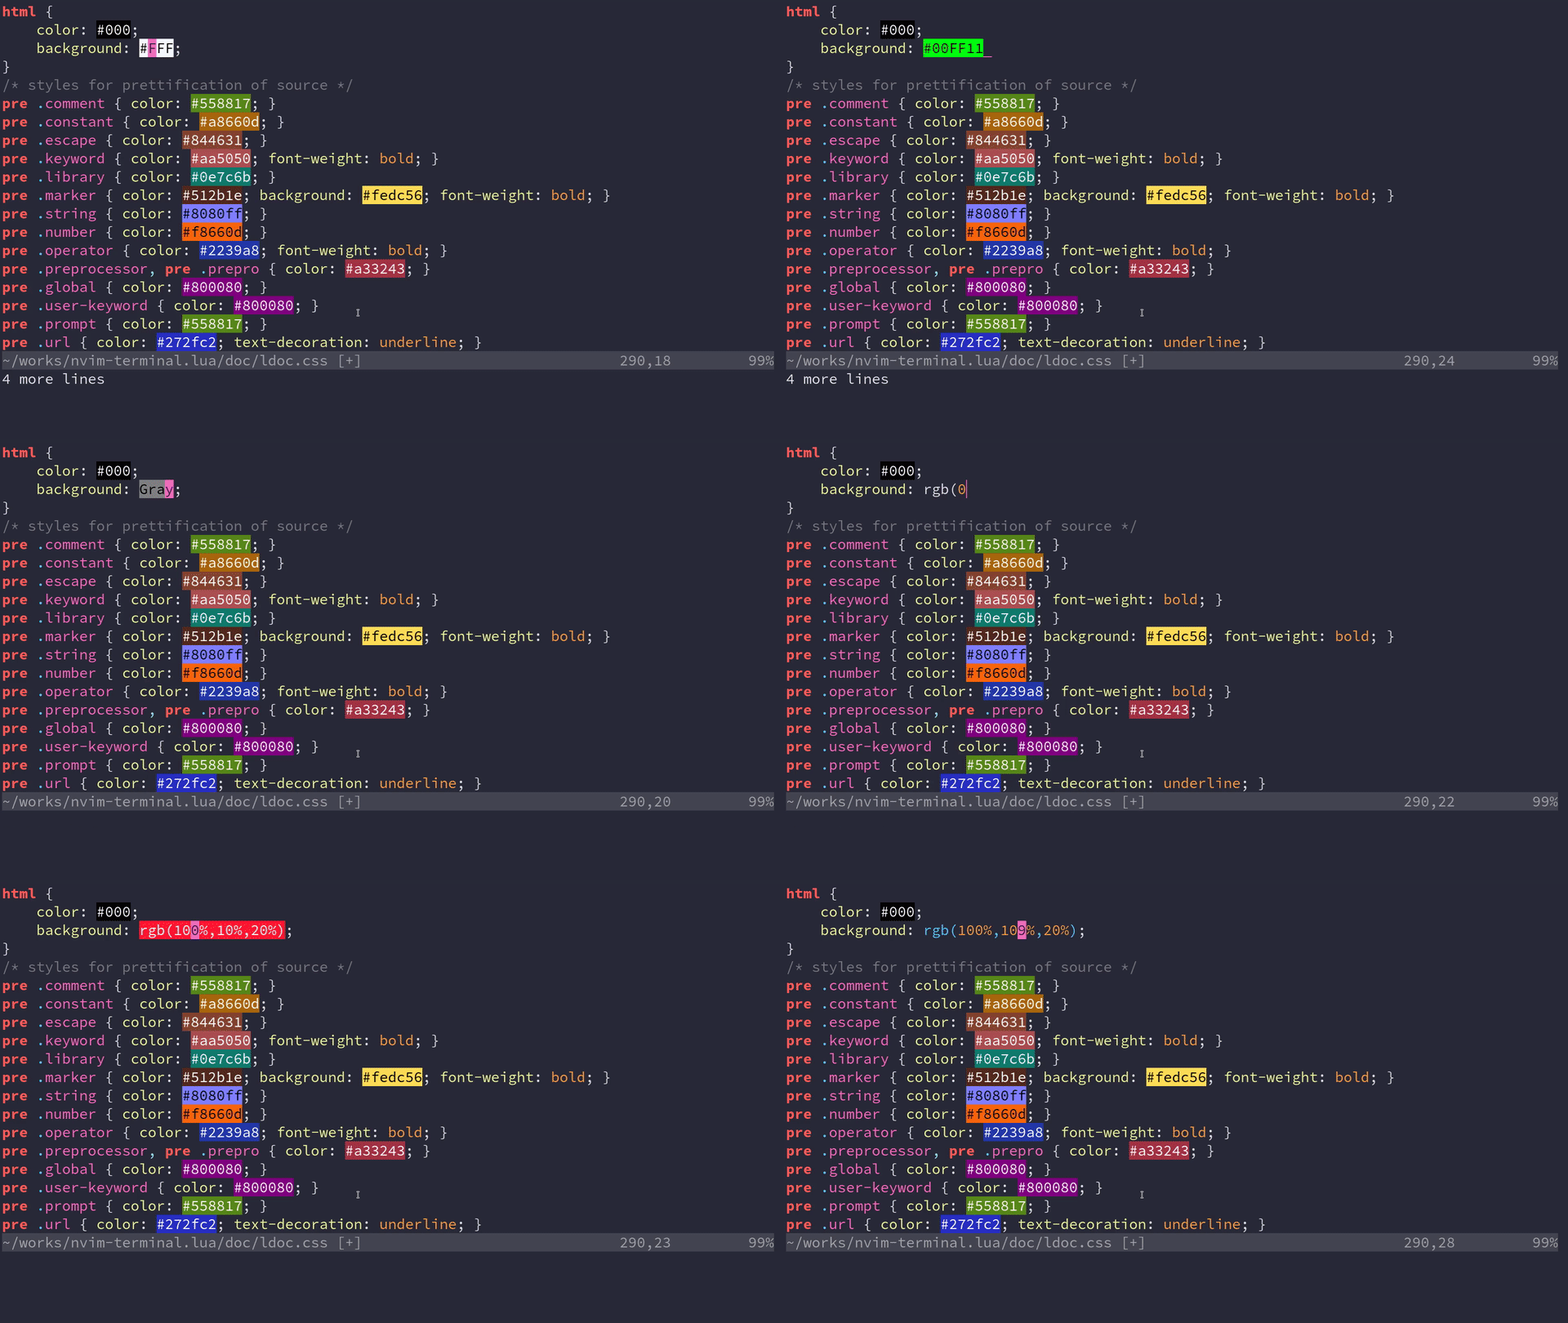
Ⅰ. 插件描述
The fastest Neovim colorizer.Ⅱ. 基本信息
|
Ⅲ. 安装方法
使用Vundle管理器安装
在你的.vimrc下添加:Plugin 'norcalli/nvim-colorizer-lua':source %
:PluginInstall对于Vundle版本 < 0.10.2,请用上面的Bundle替换Plugin。
使用NeoBundle管理器安装
在你的.vimrc下添加:NeoBundle 'norcalli/nvim-colorizer-lua':source %
:NeoBundleInstall使用VimPlug管理器安装
在你的.vimrc下添加:Plug 'norcalli/nvim-colorizer-lua':source %
:PlugInstall使用Pathogen管理器安装
在终端中运行以下命令:cd ~/.vim/bundle
git clone https://github.com/norcalli/nvim-colorizer.luaⅣ. 文档说明
# colorizer.lua
A high-performance color highlighter for Neovim which has no external dependencies! Written in performant Luajit.

Installation and Usage
Requires Neovim >= 0.4.0 and set termguicolors (I'm looking into relaxing
these constraints). If you don't have true color for your terminal or are
unsure, read this excellent guide.
Use your plugin manager or clone directly into your runtimepath.
Plug 'norcalli/nvim-colorizer.lua'As long as you have malloc() and free() on your system, this will work.
Which includes Linux, OSX, and Windows.
One line setup. This will create an autocmd for FileType * to highlight
every filetype.
lua require'colorizer'.setup()Why another highlighter?
Mostly, RAW SPEED.
This has no external dependencies, which means you install it and **it just
works**. Other colorizers typically were synchronous and slow, as well. Being
written with performance in mind and leveraging the excellent LuaJIT and a
handwritten parser, updates can be done in real time. There are plugins such as
hexokinase which have good
performance, but it has some difficulty with becoming out of sync. The downside
is that this only works for Neovim, and that will never change.
Additionally, having a Lua API that's available means users can use this as a
library to do custom highlighting themselves.
Customization
  DEFAULT_OPTIONS = {
    RGB      = true;         -- #RGB hex codes
    RRGGBB   = true;         -- #RRGGBB hex codes
    names    = true;         -- "Name" codes like Blue
    RRGGBBAA = false;        -- #RRGGBBAA hex codes
    rgb_fn   = false;        -- CSS rgb() and rgba() functions
    hsl_fn   = false;        -- CSS hsl() and hsla() functions
    css      = false;        -- Enable all CSS features: rgb_fn, hsl_fn, names, RGB, RRGGBB
    css_fn   = false;        -- Enable all CSS *functions*: rgb_fn, hsl_fn
    -- Available modes: foreground, background
    mode     = 'background'; -- Set the display mode.
  }
MODES:
foreground: sets the foreground text color.background: sets the background text color.
For basic setup, you can use a command like the following.
-- Attaches to every FileType mode
require 'colorizer'.setup()

-- Attach to certain Filetypes, add special configuration for `html`
-- Use `background` for everything else.
require 'colorizer'.setup {
  'css';
  'javascript';
  html = {
    mode = 'foreground';
  }
}

-- Use the `default_options` as the second parameter, which uses
-- `foreground` for every mode. This is the inverse of the previous
-- setup configuration.
require 'colorizer'.setup({
  'css';
  'javascript';
  html = { mode = 'background' };
}, { mode = 'foreground' })

-- Use the `default_options` as the second parameter, which uses
-- `foreground` for every mode. This is the inverse of the previous
-- setup configuration.
require 'colorizer'.setup {
  '*'; -- Highlight all files, but customize some others.
  css = { rgb_fn = true; }; -- Enable parsing rgb(...) functions in css.
  html = { names = false; } -- Disable parsing "names" like Blue or Gray
}

-- Exclude some filetypes from highlighting by using `!`
require 'colorizer'.setup {
  '*'; -- Highlight all files, but customize some others.
  '!vim'; -- Exclude vim from highlighting.
  -- Exclusion Only makes sense if '*' is specified!
}
For lower level interface, see the LuaDocs for API details or use :h colorizer.lua once installed.
Commands
|:ColorizerAttachToBuffer|

Attach to the current buffer and start highlighting with the settings as
specified in setup (or the defaults).

If the buffer was already attached (i.e. being highlighted), the settings will
be reloaded with the ones from setup. This is useful for reloading settings
for just one buffer.

|:ColorizerDetachFromBuffer|

Stop highlighting the current buffer (detach).

|:ColorizerReloadAllBuffers|

Reload all buffers that are being highlighted with new settings from the setup
settings (or the defaults). Shortcut for ColorizerAttachToBuffer on every
buffer.

|:ColorizerToggle|

Toggle highlighting of the current buffer.
Caveats
If the file you are editing has no filetype, the plugin won't be attached, as
it relies on AutoCmd to do so. You can still make it work by running the
following command: :ColorizerAttachToBuffer
See this comment for more information.
TODO
- [ ] Add more display modes?
- [ ] Use a more space efficient trie implementation.
- [ ] Create a COMMON_SETUP which does obvious things like enable
rgb_fnfor css
