Ⅰ. 插件描述
:dragon: Unite and create user interfacesⅡ. 基本信息
|
Ⅲ. 安装方法
使用Vundle管理器安装
在你的.vimrc下添加:Plugin 'shougo/unite-vim':source %
:PluginInstall对于Vundle版本 < 0.10.2,请用上面的Bundle替换Plugin。
使用NeoBundle管理器安装
在你的.vimrc下添加:NeoBundle 'shougo/unite-vim':source %
:NeoBundleInstall使用VimPlug管理器安装
在你的.vimrc下添加:Plug 'shougo/unite-vim':source %
:PlugInstall使用Pathogen管理器安装
在终端中运行以下命令:cd ~/.vim/bundle
git clone https://github.com/shougo/unite.vimⅣ. 文档说明
![]()

Note: Active development on unite.vim has stopped. The only future changes
will be bug fixes.
Please see Denite.nvim.
The unite or unite.vim plug-in can search and display information from
arbitrary sources like files, buffers, recently used files or registers. You
can run several pre-defined actions on a target displayed in the unite window.
The difference between unite and similar plug-ins like fuzzyfinder,
ctrl-p or ku is that unite provides an integration interface for several
sources and you can create new interfaces using unite.
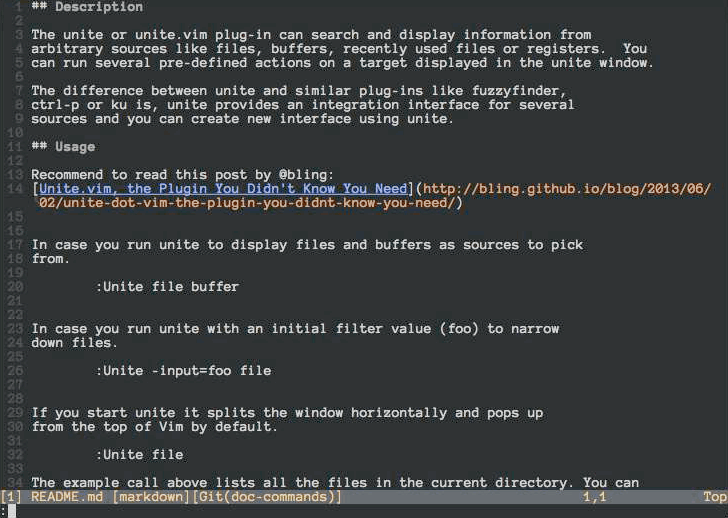
Usage

Run unite to display files and buffers as sources to pick from.
:Unite file buffer
Run unite with an initial filter value (foo) to narrow down files.
:Unite -input=foo file
If you start unite it splits the window horizontally and pops up
from the top of Vim by default.
:Unite file
The example call above lists all the files in the current directory. You can
choose one of them in the unite window by moving the cursor up and down
as usual with j and k. If you type Enter on an active candidate it will open
it in a new buffer. Enter triggers the default action for a candidate which is
"open" for candidates of the kind "file". You can also select an alternative
action for a candidate with <Tab>. See also unite-action to read on about
actions.
You can also narrow down the list of candidates by a keyword. If you change
into the insert mode inside of a unite window, the cursor drops you behind the
">" in the second line from above. There you can start typing to filter the
- You can also use the wild card
*as an arbitrary character For example,
*hisa
matches hisa, ujihisa, or ujihisahisa. Furthermore, two consecutive wild cards
match a directory recursively.
**/foo
So the example above matches bar/foo or buzz/bar/foo.
Note: The unite action file_rec does a recursive file matching by default
without the need to set wildcards.
You can also specify multiple keywords to narrow down the candidates. Multiple
keywords need to be separated either by a space " " or a dash "|". The
examples below match for candidates that meet both conditions "foo" and "bar".
foo bar
foo|bar
You can also specify negative conditions with an exclamation mark "!". This
matches candidates that meet "foo" but do not meet "bar".
foo !bar
Wild cards are added automatically if you add a "/" in the filter and you have
specified "files" as the buffer name with the option "-buffer-name". That's
handy in case you select files with unite.
:Unite -buffer-name=files file
See also unite_default_key_mappings for other actions.
Install
Install the distributed files into your Vim script directory which is usually~/.vim/, or $HOME/vimfiles on Windows. You should consider using one of the
famous package managers for Vim like vundle or neobundle to install the
plugin.
After installation you can run unite with the :Unite command and append the
sources to the command you wish to select from as parameters. However, it's a
pain in the ass to run the command explicitly every time, so I recommend you
to set a key mapping for the command. See :h unite.
Note: MRU sources are splitted. To use mru sources, you must install neomru.
https://github.com/Shougo/neomru.vim
Resources
- Unite plugins (in Japanese)
- Unite.vim, the Plugin You Didn't Know You Need
- Replacing All The Things with Unite.vim — Codeography
- Beginner's Guide to Unite
- Standards: How to make a Unite plugin
- FAQ (
:h unite-faq)
Screen shots
unite action source

unite output source

unite mapping source

unite menu source

unite menu source with customization

let g:unite_source_menu_menus = get(g:,'unite_source_menu_menus',{})
let g:unite_source_menu_menus.git = {
    \ 'description' : '            gestionar repositorios git
        \                            ⌘ [espacio]g',
    \}
let g:unite_source_menu_menus.git.command_candidates = [
    \['▷ tig                                                        ⌘ ,gt',
        \'normal ,gt'],
    \['▷ git status       (Fugitive)                                ⌘ ,gs',
        \'Gstatus'],
    \['▷ git diff         (Fugitive)                                ⌘ ,gd',
        \'Gdiff'],
    \['▷ git commit       (Fugitive)                                ⌘ ,gc',
        \'Gcommit'],
    \['▷ git log          (Fugitive)                                ⌘ ,gl',
        \'exe "silent Glog | Unite quickfix"'],
    \['▷ git blame        (Fugitive)                                ⌘ ,gb',
        \'Gblame'],
    \['▷ git stage        (Fugitive)                                ⌘ ,gw',
        \'Gwrite'],
    \['▷ git checkout     (Fugitive)                                ⌘ ,go',
        \'Gread'],
    \['▷ git rm           (Fugitive)                                ⌘ ,gr',
        \'Gremove'],
    \['▷ git mv           (Fugitive)                                ⌘ ,gm',
        \'exe "Gmove " input("destino: ")'],
    \['▷ git push         (Fugitive, salida por buffer)             ⌘ ,gp',
        \'Git! push'],
    \['▷ git pull         (Fugitive, salida por buffer)             ⌘ ,gP',
        \'Git! pull'],
    \['▷ git prompt       (Fugitive, salida por buffer)             ⌘ ,gi',
        \'exe "Git! " input("comando git: ")'],
    \['▷ git cd           (Fugitive)',
        \'Gcd'],
    \]
nnoremap <silent>[menu]g :Unite -silent -start-insert menu:git<CR>
Video
https://www.youtube.com/watch?v=fwqhBSxhGU0&hd=1
It is a good introduction about the possibilities of Unite by ReneFroger.
Special Thanks
- Dragon Image was originally from Stanislav