Ⅰ. 插件描述
Change your color scheme easilyⅡ. 基本信息
|
Ⅲ. 安装方法
使用Vundle管理器安装
在你的.vimrc下添加:Plugin 'chilicuil/nextcs':source %
:PluginInstall对于Vundle版本 < 0.10.2,请用上面的Bundle替换Plugin。
使用NeoBundle管理器安装
在你的.vimrc下添加:NeoBundle 'chilicuil/nextcs':source %
:NeoBundleInstall使用VimPlug管理器安装
在你的.vimrc下添加:Plug 'chilicuil/nextcs':source %
:PlugInstall使用Pathogen管理器安装
在终端中运行以下命令:cd ~/.vim/bundle
git clone https://github.com/vim-scripts/nextCSⅣ. 文档说明
nextCS.vim
nextCS.vim let you change your vim theme in one shot.
- F12 Next
- F11 Previous
<p align="center">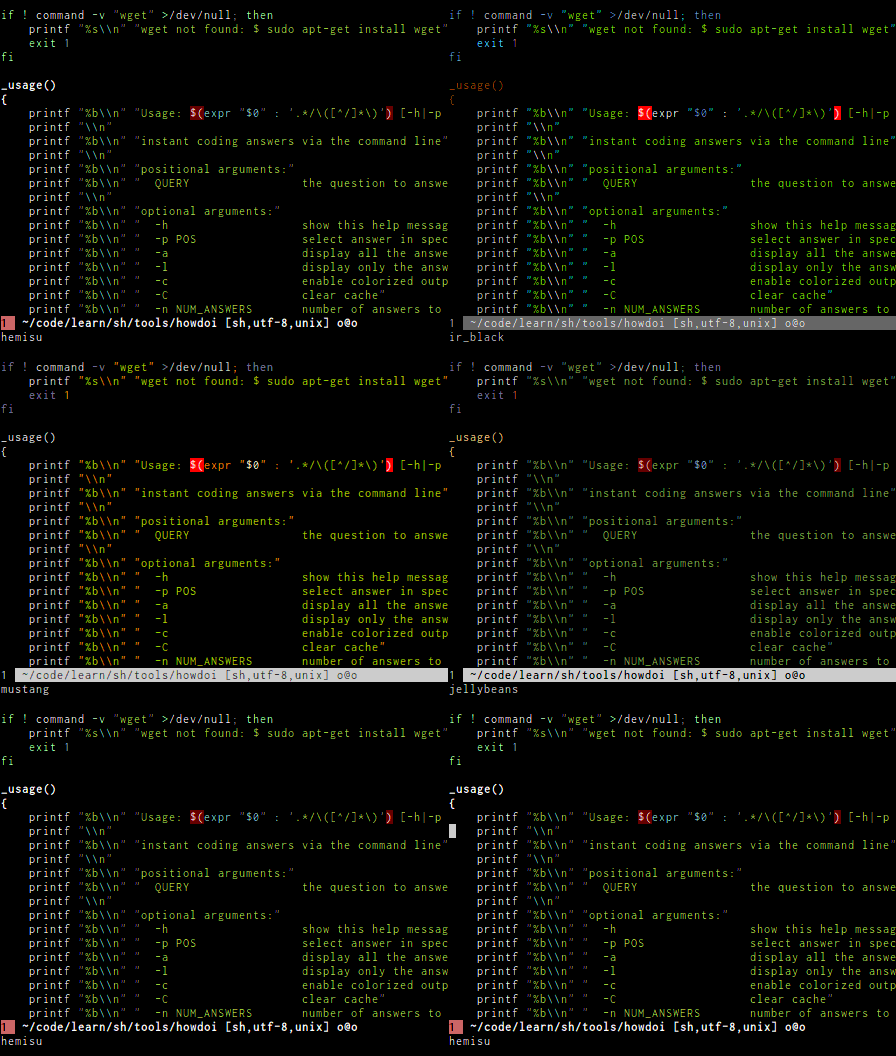
</p>
Simple enough :)
Installation
Vundle way (recommended), add the following to your
$HOME/.vimrcfile:Bundle 'javier-lopez/nextCS.vim'
And run inside of vim::BundleInstall
- Pathogen way:
$ git clone https://github.com/javier-lopez/nextCS.vim.git ~/.vim/bundle/nextCS.vim
Manual (simplest if you've never heard of vundle or pathogen), download the zip file generated from github and extract it to $HOME/.vim
mv nextCS.vim*.zip $HOME/.vim
cd $HOME/.vim && unzip nextCS.vim*.zipUpdate the help tags from vim::helpt ~/.vim/doc/
If you find yourself uncomfortable with the default mapping, change it by adding to your vimrc file:
let g:nextcs_map = '<F12>'
let g:nextcs_map = '<F11>'
Or by modifing directly the <Plug> actions
map <F12> <Plug>NextCS
map <F11> <Plug>PreviousCS